Moist Red Velvet Cake with Cream Cheese Frosting
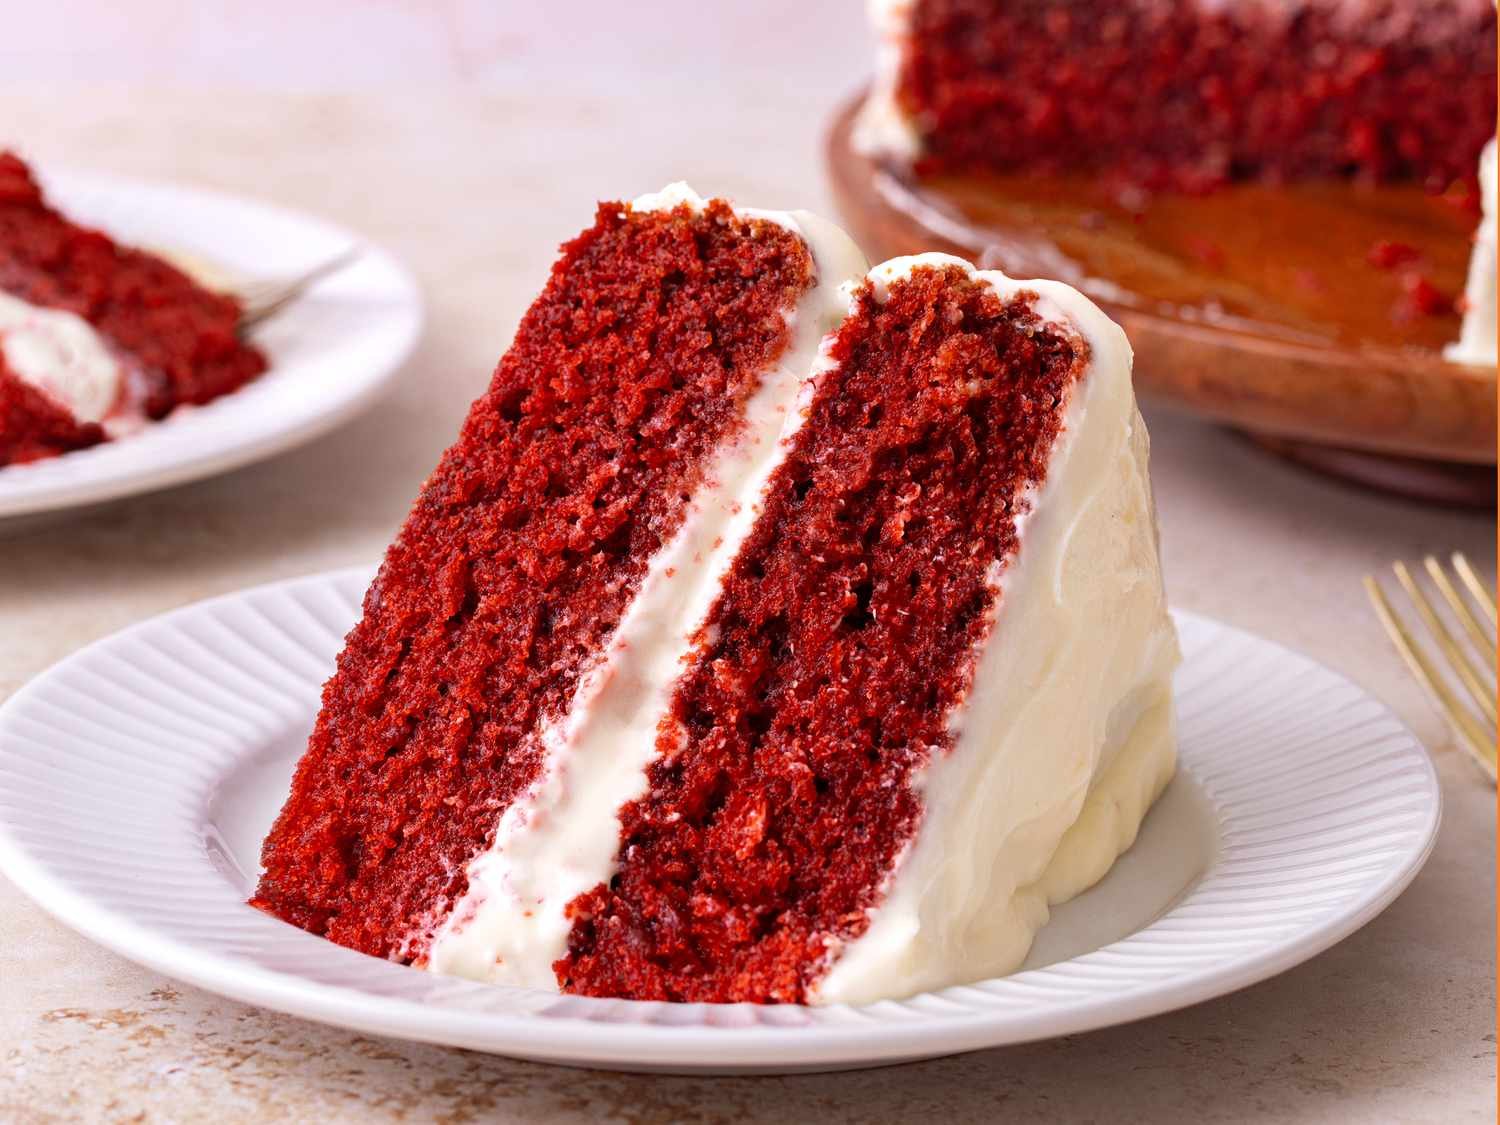
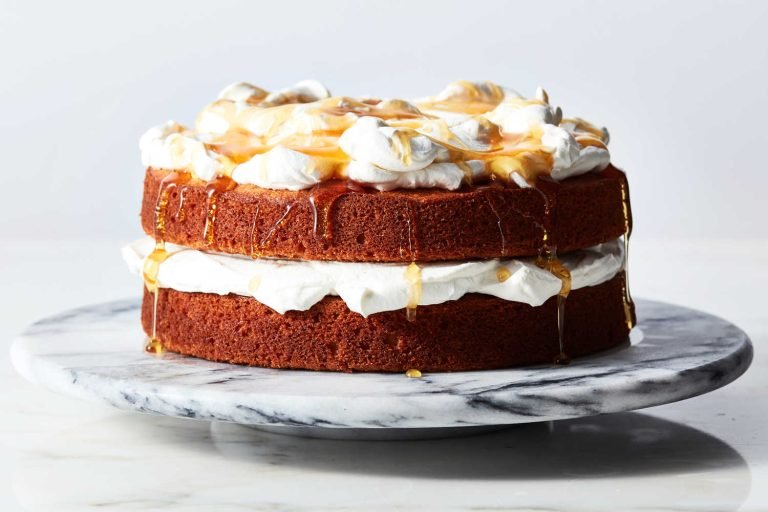
Few desserts attract attention quite like a beautifully frosted red velvet cake sitting proudly on a cake stand. Its vibrant crimson layers peek through creamy white frosting, promising a slice that is as rich in flavor as it is striking in appearance. I never get tired of seeing guests pause for a moment before cutting into it because the colors alone make any gathering feel like a celebration.
Moist Red Velvet Cake with Cream Cheese Frosting continues to be one of my favorite recipes because it blends elegance with comfort. It has a delicate cocoa flavor, an incredibly soft crumb, and a tangy frosting that perfectly balances the sweetness of the cake. Whether I am baking for birthdays, holidays, anniversaries, or simply because I want a beautiful homemade dessert, this recipe always delivers impressive results.
Why This Cake Never Goes Out of Style
Red velvet cake has remained popular for generations because it offers something different from both vanilla and chocolate cake. Instead of relying on intense chocolate flavor, it delivers a subtle cocoa richness with hints of vanilla and a slight tang that creates remarkable depth. Every bite feels light while still satisfying.
The signature texture is another reason I return to this recipe so often. The combination of buttermilk, oil, and vinegar creates an exceptionally tender crumb that stays moist for several days. Even after refrigeration, the cake maintains its soft texture without becoming dry or crumbly.
Cream cheese frosting completes the experience beautifully. Its smooth, slightly tangy flavor complements the delicate sweetness of the cake without overpowering it. Together, the cake and frosting create a dessert that feels balanced, refined, and wonderfully nostalgic.
Ingredients
For the Cake
- 2½ cups (315g) all-purpose flour
- 2 tablespoons unsweetened cocoa powder
- 1 teaspoon baking soda
- ½ teaspoon salt
- 1½ cups (300g) granulated sugar
- 1 cup (240ml) vegetable oil
- 2 large eggs, room temperature
- 1 cup (240ml) buttermilk, room temperature
- 2 teaspoons pure vanilla extract
- 1 teaspoon white vinegar
- 1 tablespoon red food coloring (liquid) or 2 teaspoons gel food coloring
For the Cream Cheese Frosting
- 16 ounces (450g) cream cheese, softened
- 1 cup (227g) unsalted butter, softened
- 5 cups (600g) powdered sugar, sifted
- 2 teaspoons pure vanilla extract
- Pinch of salt
Optional Decorations
- Red velvet cake crumbs
- White chocolate curls
- Fresh raspberries
- Decorative sprinkles
Kitchen Equipment
Preparing everything before mixing keeps the process relaxed and organized. I use two 8-inch round cake pans, parchment paper, mixing bowls, measuring cups, measuring spoons, a stand mixer or hand mixer, cooling racks, and an offset spatula for decorating.
Baking is all about consistency, so accurate measurements make a noticeable difference. I always level flour rather than scooping directly from the bag because too much flour can produce a dense cake instead of the soft texture this recipe is known for.
Room-temperature ingredients also help create a smooth batter. Eggs, buttermilk, butter, and cream cheese blend much more easily, giving the finished cake an even crumb and silky frosting.
Step-By-Step Instructions
Preheat the oven to 350°F (175°C). Grease two 8-inch round cake pans, line the bottoms with parchment paper, and lightly grease the parchment. This simple preparation makes removing the cakes easy once they have cooled.
In a medium bowl, whisk together the flour, cocoa powder, baking soda, and salt. Mixing the dry ingredients separately ensures the cocoa and baking soda are evenly distributed throughout the batter.
In a large mixing bowl, combine the sugar and vegetable oil until smooth. Add the eggs one at a time, beating well after each addition. Mix in the vanilla extract, buttermilk, vinegar, and red food coloring until everything is fully incorporated and the batter develops its vibrant color.
Gradually add the dry ingredients to the wet mixture, mixing on low speed until just combined. Avoid overmixing because excessive mixing develops gluten, which can make the cake less tender.
Divide the batter evenly between the prepared pans and smooth the tops gently with a spatula. Bake for 28 to 32 minutes, or until a toothpick inserted into the center comes out clean or with only a few moist crumbs attached.
Allow the cakes to cool in their pans for about 10 minutes before transferring them to wire racks. Let them cool completely before frosting. Warm cake layers will soften the frosting and make assembly much more difficult.
Making Cream Cheese Frosting
Beat the softened cream cheese and butter together until completely smooth and creamy. Taking a few extra minutes at this stage eliminates small lumps and creates a frosting with an incredibly silky texture.
Gradually add the powdered sugar one cup at a time while mixing on low speed. Stir in the vanilla extract and a small pinch of salt, then continue beating until the frosting becomes light, fluffy, and easy to spread.
If the frosting feels too soft, refrigerate it for about 20 minutes before decorating. Chilling helps it firm up slightly while remaining smooth enough to spread effortlessly across the cake.
Assembling the Cake
Place one cooled cake layer on a serving plate or cake stand. Spread a generous layer of cream cheese frosting evenly across the surface, making sure it reaches the edges for an even filling throughout every slice.
Carefully position the second cake layer on top. Apply a thin crumb coat over the entire cake and refrigerate it for about 20 minutes. This seals in loose crumbs and creates the perfect foundation for the final layer of frosting.
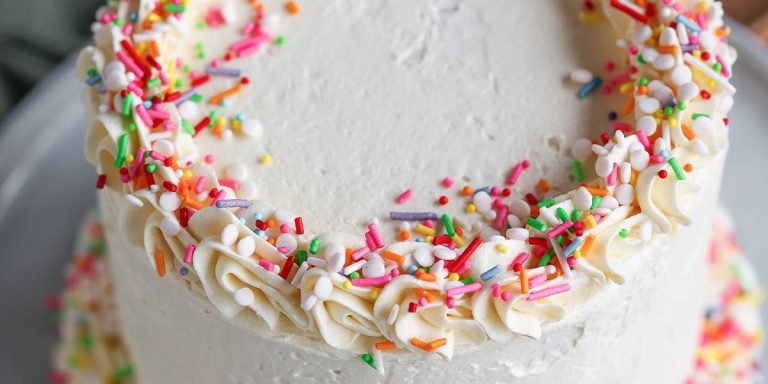
Finish by covering the cake with the remaining frosting, smoothing the sides with an offset spatula or creating decorative swirls for a rustic appearance. Sprinkle reserved cake crumbs around the edges or decorate with white chocolate curls and fresh raspberries for a beautiful presentation.
Helpful Baking Tips
Fresh baking soda is essential for achieving the proper rise. If it has been sitting in the pantry for a long time, replacing it before baking helps produce lighter, fluffier cake layers.
Do not substitute regular milk for buttermilk if possible. The acidity of buttermilk reacts with the baking soda and vinegar, producing the tender crumb that makes red velvet cake so distinctive. If buttermilk is unavailable, you can make a substitute by adding one tablespoon of lemon juice or white vinegar to one cup of milk and letting it stand for five minutes.
Resist the temptation to overbake the cake. Begin checking for doneness near the end of the recommended baking time because even a few extra minutes can reduce the moist texture that makes this dessert so memorable.
Decorating Ideas
Moist Red Velvet Cake with Cream Cheese Frosting looks elegant with smooth sides and simple swirls across the top. I often reserve a small piece of baked cake, crumble it finely, and sprinkle the crumbs around the edges for a classic bakery-style finish.
Fresh berries provide both color and freshness without overwhelming the dessert. Raspberries, strawberries, or blackberries create a beautiful contrast against the white frosting while complementing the subtle cocoa flavor.
For holiday celebrations, I sometimes pipe decorative borders around the top and bottom edges before adding white chocolate curls. The finished cake looks impressive while remaining easy enough for home bakers to recreate.
Storage Instructions
Because of the cream cheese frosting, this cake should be refrigerated. Cover it with a cake dome or store it in an airtight container for up to five days. The frosting helps preserve moisture, keeping the cake soft throughout storage.
Before serving, remove the cake from the refrigerator about 30 to 45 minutes in advance. Allowing it to come closer to room temperature improves both the texture and flavor of the cake and frosting.
The unfrosted cake layers freeze exceptionally well. Wrap each layer tightly in plastic wrap followed by aluminum foil and freeze for up to three months. Once thawed overnight in the refrigerator, they are ready to frost and serve.
Delicious Variations
A layer of raspberry preserves beneath the cream cheese frosting adds a bright, fruity contrast that pairs beautifully with the subtle cocoa flavor. The tartness enhances the richness without making the dessert overly sweet.
For a festive twist, fold miniature white chocolate chips into the batter before baking. They melt slightly during baking and add little pockets of creamy sweetness throughout the cake.
A touch of orange zest in the frosting creates another delicious variation. The citrus adds freshness while complementing both the vanilla and cocoa notes without changing the classic character of the recipe.
Final Thoughts
Moist Red Velvet Cake with Cream Cheese Frosting remains one of those timeless desserts that never loses its appeal. Its tender crumb, balanced cocoa flavor, vibrant color, and smooth cream cheese frosting create a cake that feels equally at home at elegant celebrations and casual family gatherings. Every slice offers just the right combination of sweetness and richness without becoming overwhelming.
I continue baking this recipe because it consistently produces beautiful results that people remember long after the last slice has disappeared. It is simple enough for home bakers while delivering the appearance and flavor of a bakery-quality dessert. Once you make this Moist Red Velvet Cake with Cream Cheese Frosting, it is easy to understand why it has remained a favorite for generations.